In this lesson, you learn the techniques for creating a simple skeleton for a
human character. You will learn how to:
■ Create joints for a character.
■ Name joints in the Hypergraph.
■ Use symmetry when creating a character.
■ Parent joints into an existing skeleton.
■ Use Inverse Kinematics (IK) techniques to pose a skeleton.
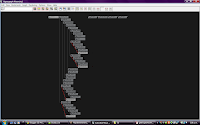
Hypergraph Hierarchy: This hierarchy represents the controls of the character skeleton. The top of the hierarchy is the main controller for the character. In this situation it's the lowest point of the back. Other sections are also main controller of their areas such as the arm connections which control the shoulders, elbows and wrists.

Lesson 2: Smooth Skinning.
In this lesson you learn how to:
■ Bind a skeleton using a smooth bind technique.
■ View and modify skin weights using the Skin Weights Tool.
■ Use influence objects to enhance the skin deformation of a character.

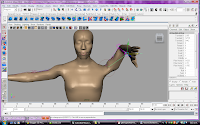
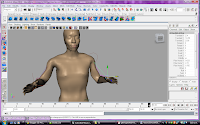
At first when the arm is moved it creates un-natural depressions around the shoulder and breast region.

After applying the necessary weights to the area, the arm can be moved around and appear more natural. The above photo shows the arms in similar positions. The right one has been adjusted with the correct weights added where as the left one hasn't. This is most noticeable just under the characters armpit as it has created a large depression.
Lesson 3: Cluster and blend shape deformers.
In this lesson, you will be introduced to cluster deformers in order to shape
a characters mouth into a smile pose. You will learn to use the Blend Shape
feature so you can animate the face from a neutral pose to a smile. In this
lesson, you learn how to:
■ Select CVs in a region and create a cluster deformer.
■ Use the cluster deformer handle to adjust the position of a cluster deformer.
■ Use the Paint Cluster Weights Tool to refine the cluster weight values.
■ Create a Blend Shape deformer to control the blending between target
shapes.
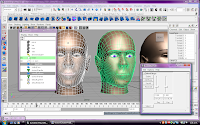
After adding weights around the mouth to make it appear as though the face is smiling.


No comments:
Post a Comment