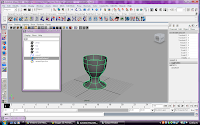
Lesson 1: Revolving a curve to create a surface.
In this lesson you learn how to:
■ Create a NURBS curve using the control vertices (CV) creation technique.
■ Use the grid for visual reference when modeling.
■ Determine the start and end points for a NURBS curve and its direction.
■ Create a revolved NURBS surface using the Revolve tool.
■ Change the display shading smoothness for a NURBS surface.
■ Edit a NURBS surface by editing its initial profile curve when it is linked
to the surface by construction history.
Lesson 2: Sculpting a NURBS surface.
In this lesson you learn:
■ Basic sculpting operations (push, pull, smooth, relax and erase) with the
Sculpt Geometry Tool.
■ How the density of isoparametric lines affects the surface detail possible
when sculpting.
■ How to increase the surface subdivisions on a NURBS surface to aid with
surface sculpting.
■ How to change the brush radius for the Sculpt Geometry Tool.
■ How Opacity and Max Displacement affect the sculpting operations.
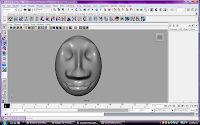
■ How to import geometry from a pre-existing file into your current scene.

*Egg cup imported to scene
Lesson 3: Lofting curves to create a surface.

In this lesson you learn how to:
■ Modify the outline of a circle primitive by editing the position of its CVs.
■ Use the magnet snap feature.
■ Loft cross section curves to create a NURBS surface using the Loft tool.
■ Edit the form of an existing primitive object by moving its CVs.
■ Parent one object to another using the Outliner.
No comments:
Post a Comment